First off, if you are trying to securely connect to your enterprise production network and instances, there are better (safer) methods (architectures) to do this. OSLogin or federating your Azure AD for instance, might be more secure and scalable. I run a pointless website (this one) with nothing to really lose across a handful of instances. This is a hobby.
Second, I recently got a dose of humble pie when trying to use PuTTY on Windows to connect to a Ubuntu instance in GCP. I was generally using gCloud command-line for getting my app running but I got a wild hair up my ass this morning to try and just use PuTTY to avoid the step of logging into Google Cloud (via Chrome) for administration. I am fairly use to AWS where I just create an instance, download the .pem file, convert it to a ppk with PuTTYgen, and then use that along with the default login (ec2-user or ubuntu) to connect to my minecraft and web servers. GCP was a little different.
Once I read a few docs from Google searches, it became much more apparent vs reading the GCP docs. Here is how I did it.
Download PuTTYgen if you dont have it already.
Launch PuTTYgen.
Click on “Generate“. I used a 2048 bit RSA key.
Move your mouse around the box to generate a key.
In the “Key comment” field, replace the data there with a username you want to use to connect to your Compute Engine instance (highlighted)
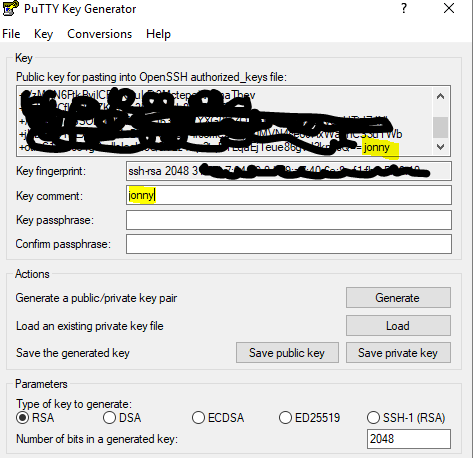
Copy the ENTIRE contents of the public key (the data in the “public key for pasting…”) box. It should end with the username you want to connect with if you scroll down.
Click on “Save Private Key” and select a location/path that is secure (and one that you will remember!).
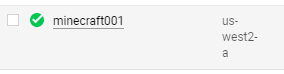
Create a new Compute Engine instance or go to an existing instance. From the VM instances page, click on the instance name. In my case it was “minecraft001”.
At the top of the page, click on “Edit“.
Scroll almost all the way to the bottom and you will see an “SSH Keys” section.
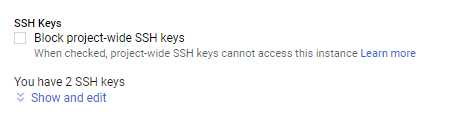
Click on “show and edit“
Click on “+ Add Item“
Paste in the key data you copied from PuTTYgen from the step above.
- You will notice that it extracts the username from your key on the left. This is the username you will use from PuTTY.
On the same page, click on “Save” at the bottom of the page.
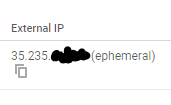
On the VM instance details page, find the “External IP” section and copy the IP address (the cascaded window icon will add it to your buffer).
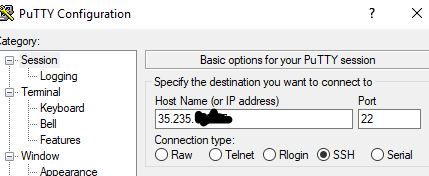
Now open or go back to your PuTTY client (not PuTTYgen).
Paste the IP address into your PuTTY client.
On the left side of the PuTTY client, scroll down to the “Connection” section and click the “+” to expand it
Click the “+” next to the “SSH” section
HIGHLIGHT the “Auth” section. Dont expand it.
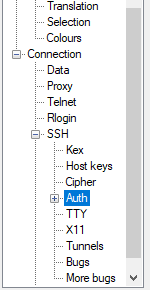
Click on “Browse…“
Find the Private Key file you saved from earlier (should have a .ppk file extension). Double click to select and use it.
Scroll back up and highlight the Session category.
From here you can either name your connection and Save it under “saved sessions“…or just click the “Open” button.
It should make a connection to your Compute Instance and ask for a username. Supply the username you specified in the step above and voila! I used “jonny” in my example.
That’s it! Happy computing!